While I may have fallen in love aesthetically with the ErgoDox I built, beauty is only skin deep. And that’s funny, because you can see right through it. But the thing is, it’s just too big and knife-edged to be my daily driver. I keep missing the space bar and thumb-thumping the acrylic wasteland between the thumb cluster and the mainland.
The point was to make a nice portable keeb, even though all my trips for he foreseeable future are going to be limited to the bed or the couch. But it has to be comfortable, and the ErgoDox in its present state simply is not long-term comfortable. I’d take it over a rectangle any day, but it would probably end up being a half day.
Ergo isn’t so much a preference for me as it is a necessity at this point. I feel like I can honestly say that I might not be typing these words to you now if it weren’t for the Kinesis. I don’t want my fingers to do unnecessary legwork, or downgrade from the quality of typing life that concave keys have afforded me. So let me just say that using the ErgoDox made me want to build a dactyl even more than before.
Prints Charming
Let me recap: the dactyl is pretty much a Kinesis in a bikini. As far as I know, the only way to make a dactyl appear on your desk is by printing a case and wiring it by hand. I would love to see one machined out of aluminium, but it seems like a difficult set of shapes for subtractive manufacturing, and downright impossible to mold.
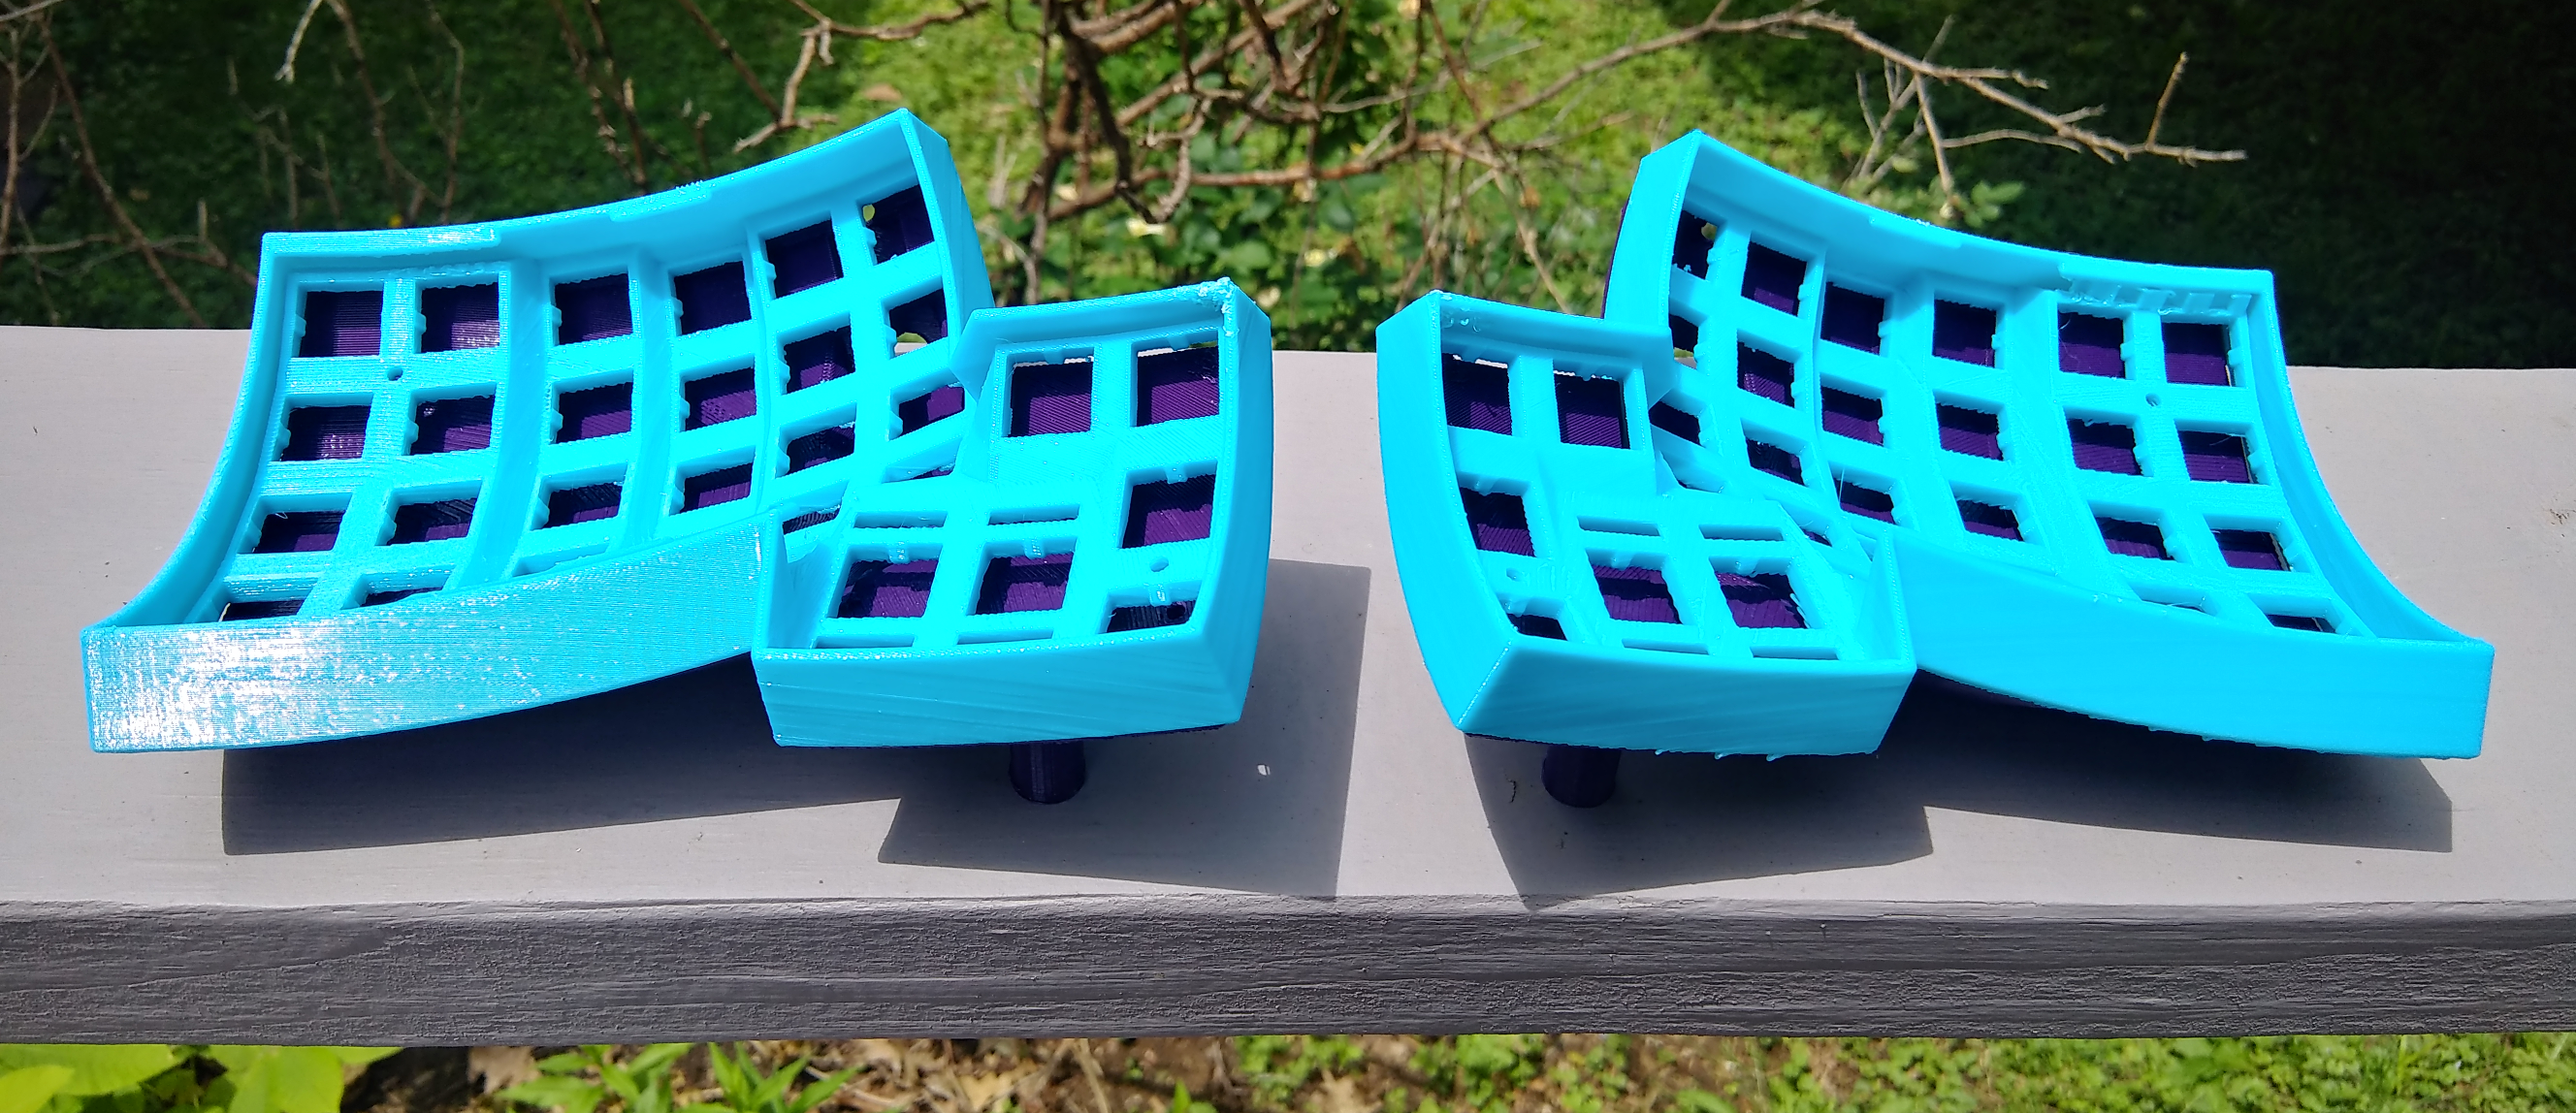
I got my case files from the creator’s repo and printed it on a TAZ 6 at 0.25 layer height. All four pieces were printed upright, and they took about 11½ hours each. Then it took around 90 minutes per piece just to break off the bulk of the support material. I plan to shave down all the edges with an X-Acto, but I don’t think I’ll be sanding it.
Over on IO, [Simon Merrett] suggested that I print the pieces upside down to reduce the amount of support material needed, and possibly shorten up the print time. I might be into that if there were more room inside the case for wires, but as it stands, I don’t want to have to do hours and hours of post-processing on the bottom pieces to make the inside smooth. Maybe I’ll try that on a future version.
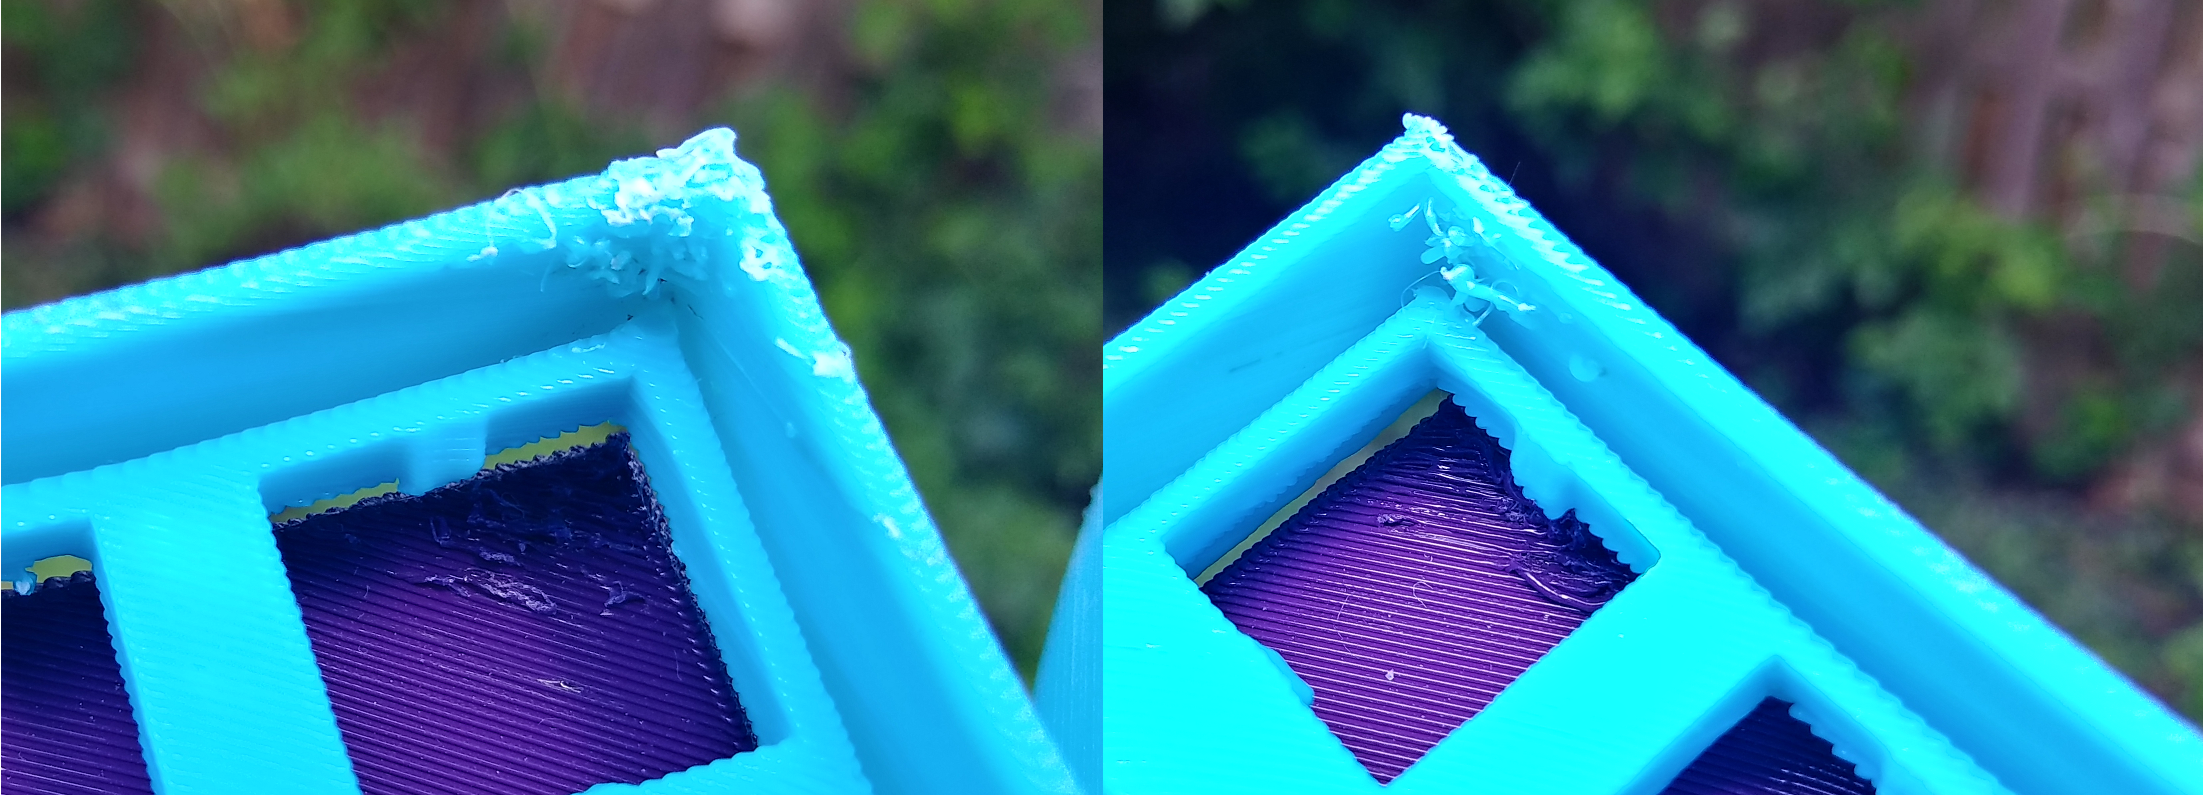
It’s pretty amazing how well these came out, because these are black belt-level prints. I think they look beautiful, except for one thing. Each piece finishes printing at the tippy-top of a 90° corner, so the printer would hang out 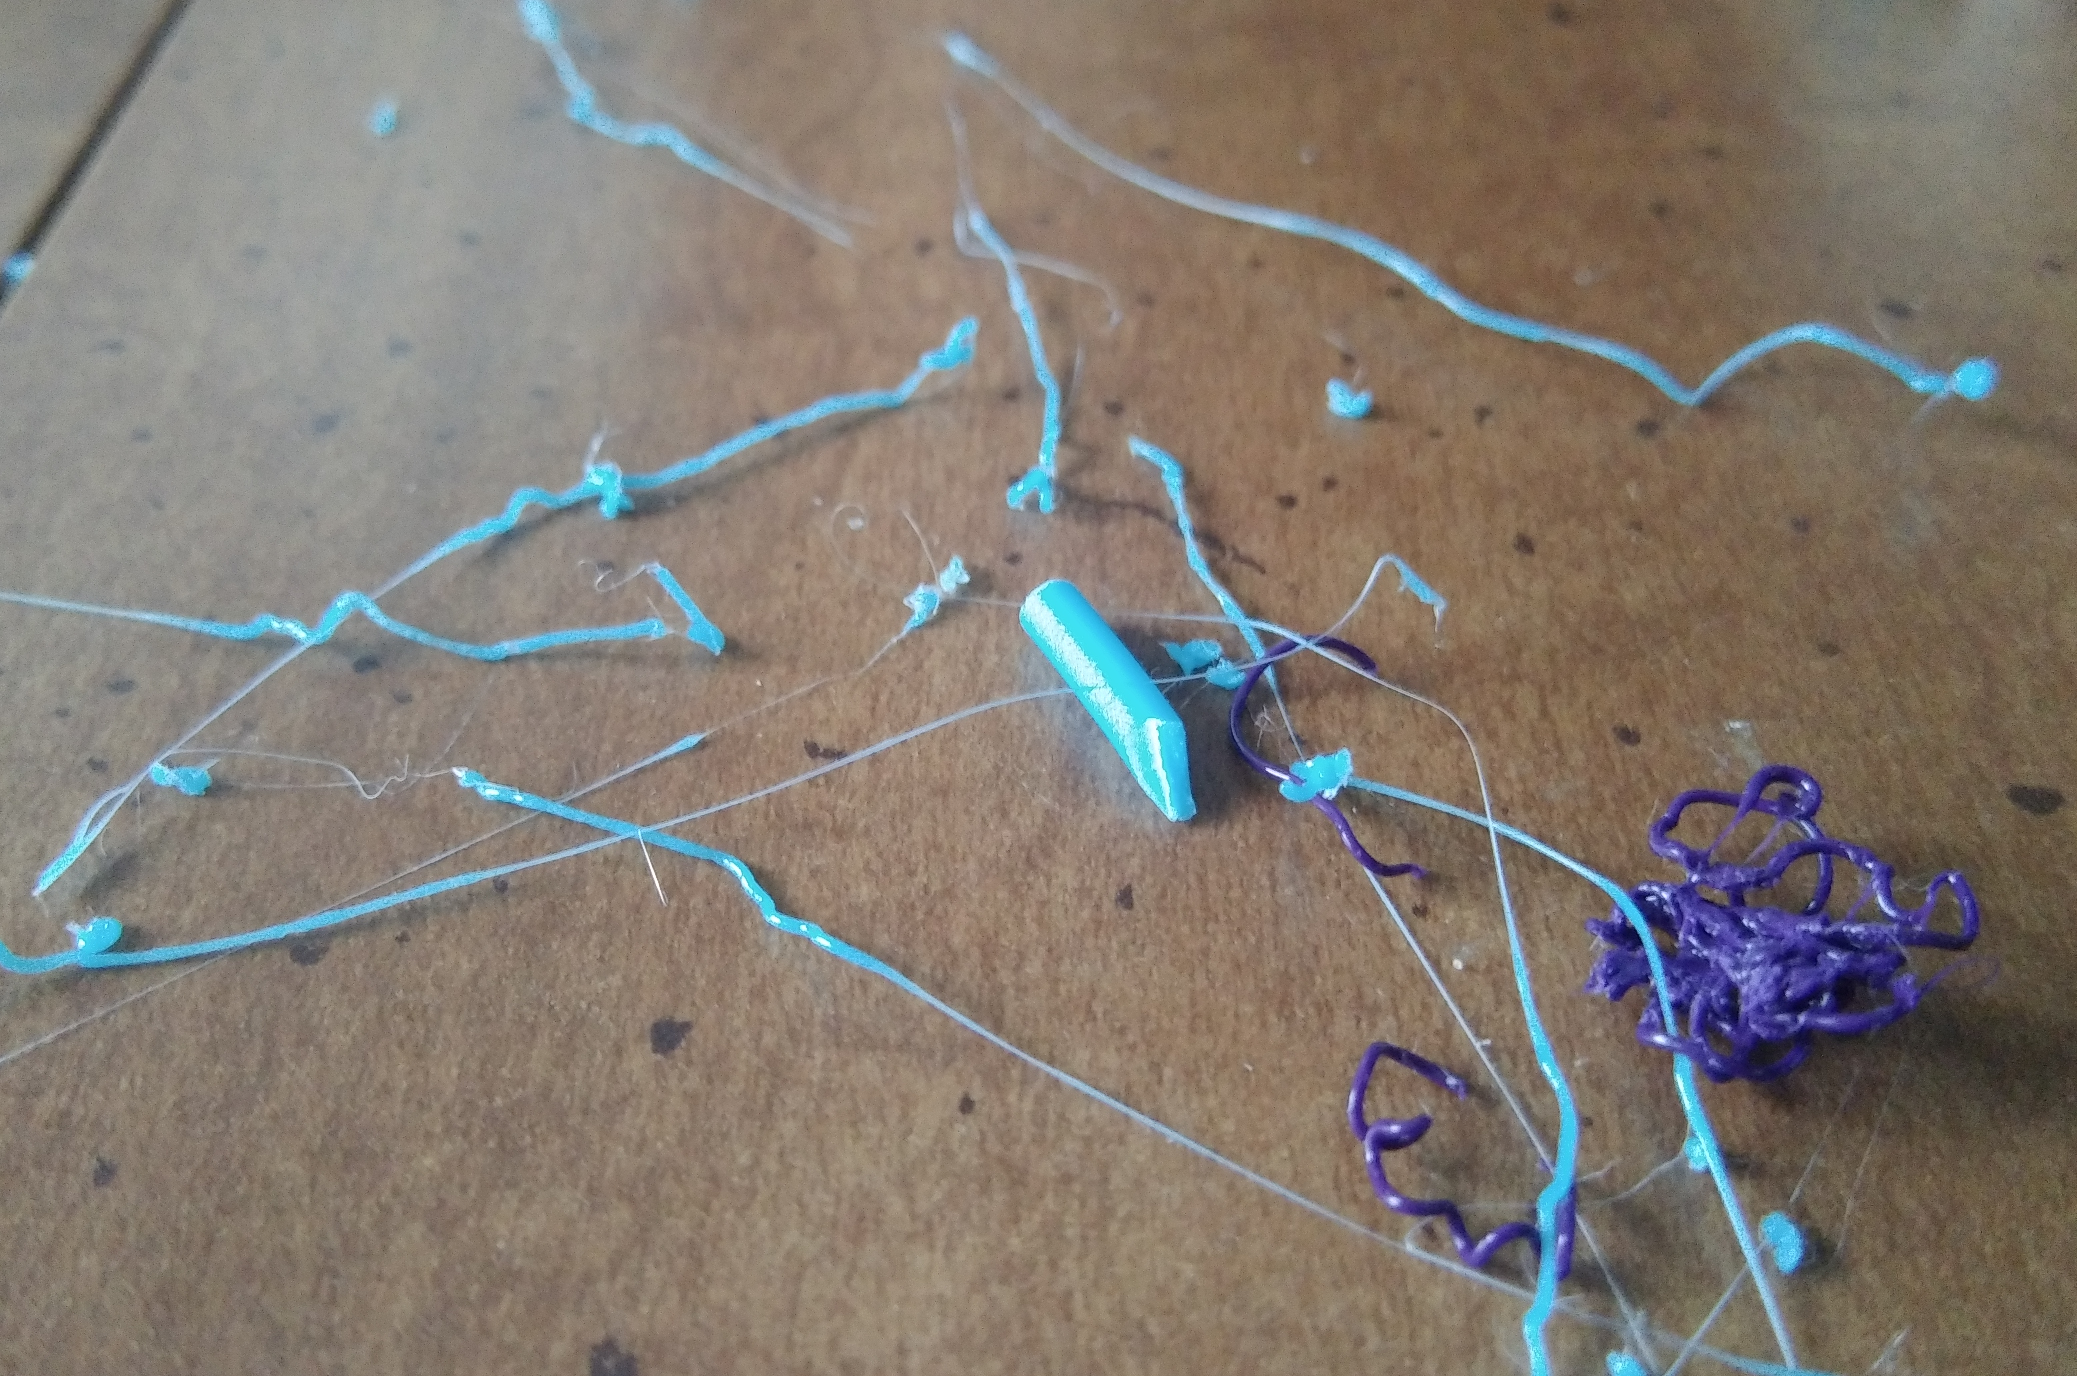 between each of the final 15 or 20 layers just spewing out plastic, and then dragging it back into the print to make a jumbled mess.
On the last print, I finally did something about it. Every time the hot end moved over to rest, I let the filament latch on to a toothpick and pulled away slowly and gently. The filament just stretched out like taffy for a second and then broke off on the print head’s way back to the corner. I had just enough time to clean the toothpick before the next pull.
While the second half’s final corner does look cleaner than the first half’s, it also looks leaner — not as solidly filled, and maybe not as strong. I could have just messed with the retraction settings, but these are my first epic prints and I was too afraid of them failing in the eleventh hour.
Switch Switcheroo
Once the prints are cleaned up, it’ll be time to push all the switches into place and get to wiring. Just like with the ErgoDox, I thought about using Cherry Browns, especially after they finally came back in stock where I like to buy my things. But here I am with 80 Cherry Clears instead, which are like a stiffer brown with a longer bump.
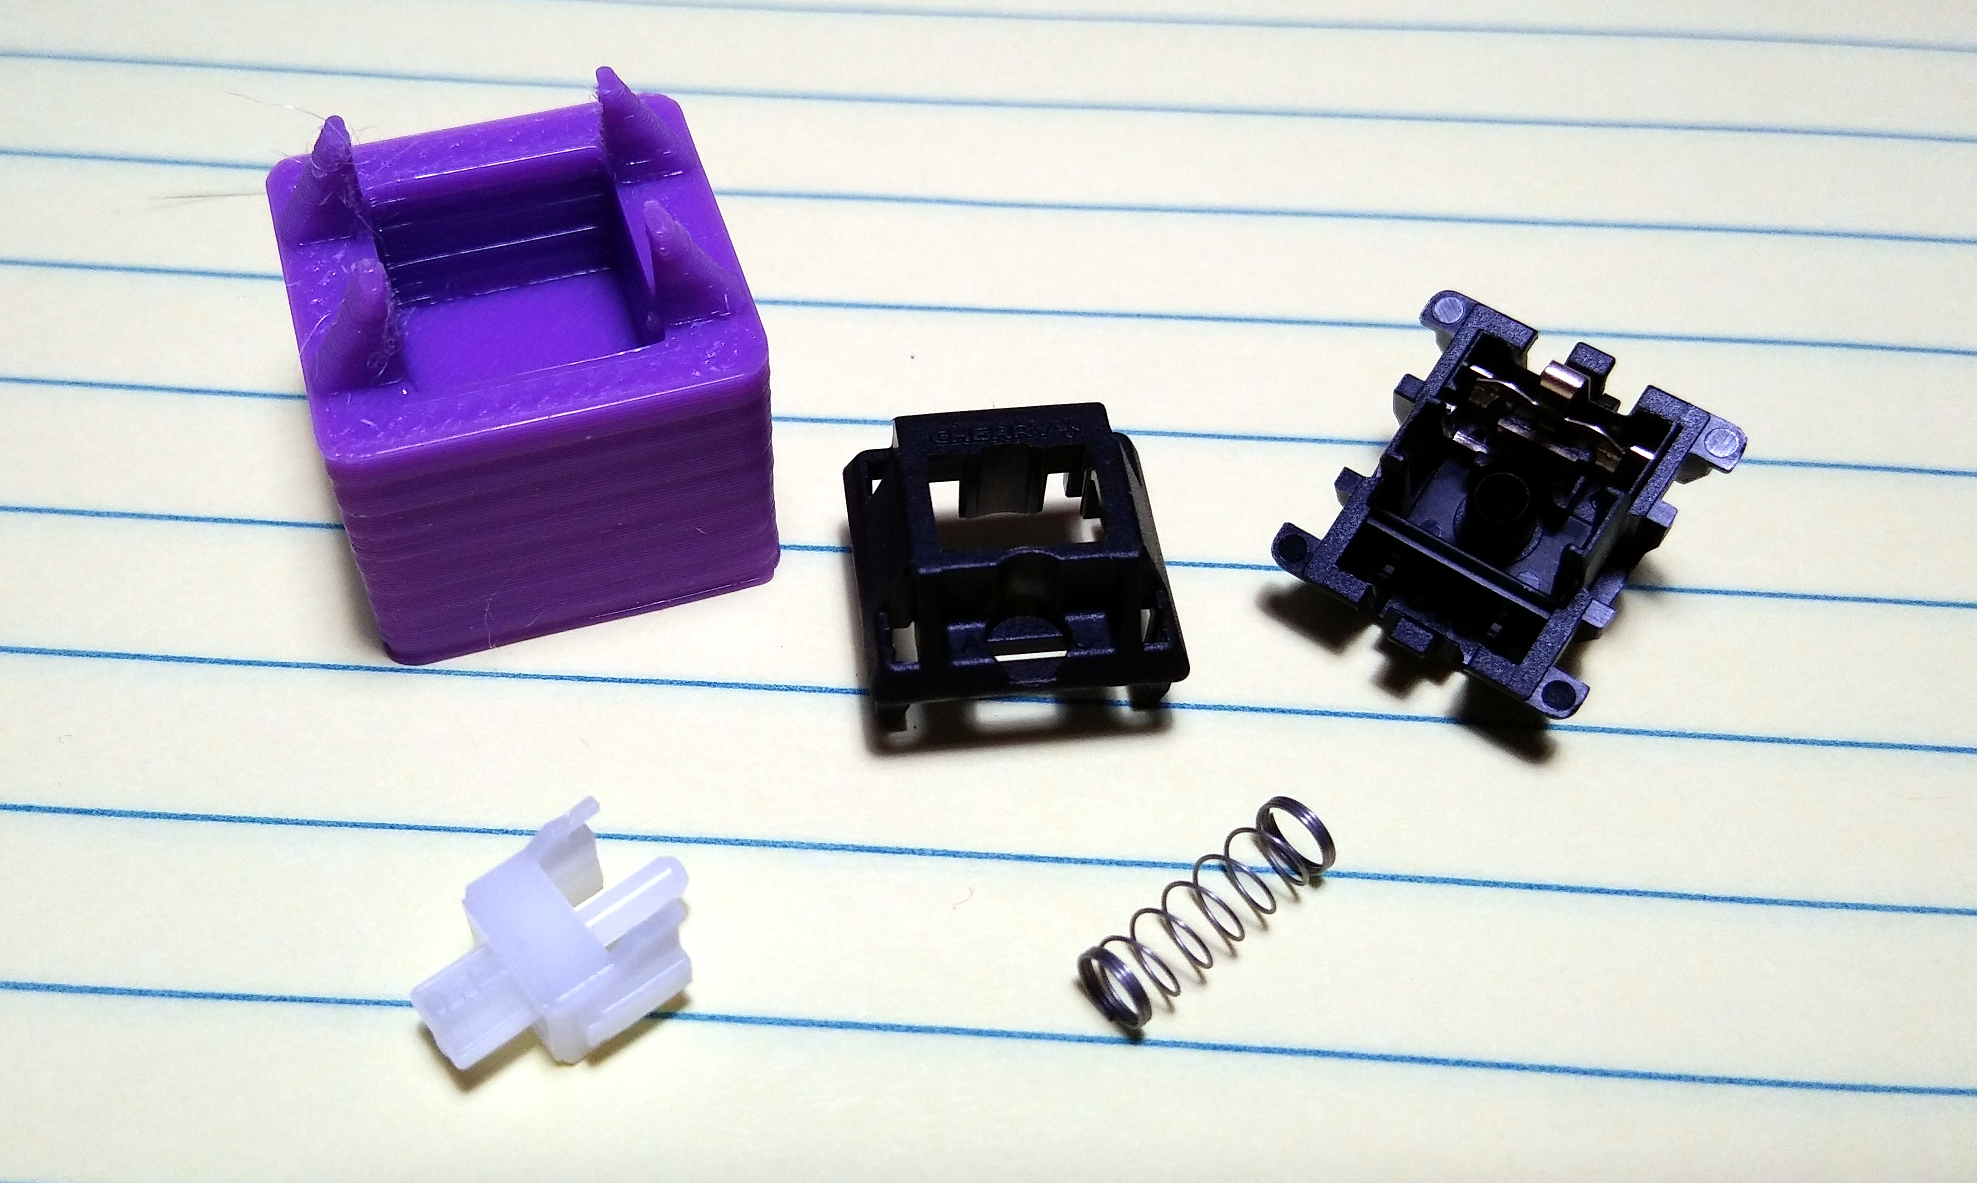
I’m worried that I’ll regret this choice, because if this keeb becomes my daily driver, they could make my hands pretty tired. I decided to try my hand at switching out the stock springs for 39g boingers, which will make them easier to actuate.
While the final piece printed, I filled up the left half with switches to see how they fit. They all snap in really nicely, and none of them feel loose at all or threaten to fall out if I turn it over. Even so, when I pulled off the tester keycaps, some of the switches came with them. Can’t have that happening once everything is wired up, so my plan is to superglue them all in place.
Another option is to use individual PCBs for each switch. I’m fully conflicted on these. They were designed exactly for curvy keebs, but it seems like they would take up a lot of precious space, and that all those hard edges might hurt the wires. The upsides are that they bring their own diodes, and they would probably provide enough resistance when changing keycaps that it wouldn’t be as crucial to glue each switch in place.
 No Guts, No Keyboard

After the curves, the differences between the ErgoDox and the dactyl become less obvious. The main difference is that the dactyl has no modifier keys on the inside of each half, so there are 70 keys total instead of 76. The dactyl is laid out just like a Kinesis minus the F keys, but it carries over the two extra 1u keys in the bottom outside corners from the ErgoDox.
The ErgoDox uses a Teensy 2.0 and an I/O expansion chip to handle the key matrix. I would rather use a pair of Pro Micros, if for no better reason than the build will be cleaner, and it will have have micro-USB instead of mini-USB. The bottom pieces of the case both have a cozy little bed for a microcontroller board, so why not? Also, the clearest, most helpful wiring guide I’ve seen so far uses two Pro Micros.
Start Your Clackers
I was a little scared of using blank keycaps when I built the ErgoDox, but I haven’t had any trouble so far, and I really like the way they look. And it really doesn’t hurt that blank ‘caps are almost always a cheaper option because you can buy them piecemeal.
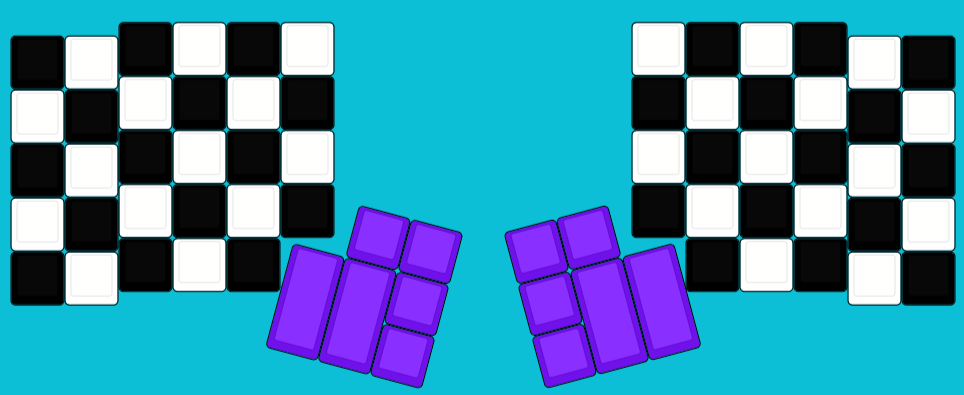
The dactyl keycaps will be blank, too. I started thinking that black or white would look nice, but I can’t decide between the two, so checkered it is. I recently bought a set of plain white caps in thick PBT to do some artisan keycap experiments, and if those go anywhere, there will certainly be a post about it in the future.
I would use them on the dactyl, but they’re sculpted — that means the tops are angled downward in the upper row caps (number and QWERTY rows), flat on the home row, and angled upward on the ZXCVB and space bar rows. I’d have to get two complete sets of caps, or else go broke trying to buy them individually.
Honestly, I’m a long way off from keycaps. My slinky new springs are only now out for delivery, and I still need to school myself on QMK firmware and keyboard matrices. But the prints are done, and that feels like half the battle.
"type" - Google News
June 19, 2020
https://ift.tt/2YhTzxT
Inputs Of Interest: Curves Are The Key To My Type - Hackaday
"type" - Google News
https://ift.tt/2WhN8Zg
https://ift.tt/2YrjQdq
Bagikan Berita Ini


0 Response to "Inputs Of Interest: Curves Are The Key To My Type - Hackaday"
Post a Comment